Off Grid...Chapter 124
It's time for another story and to finish up what we did in January. So let's get to it
 We are still working on the refrigerator situation. The old one is still in the house and being used. Now it's time to get the new "RV" refrigerator in place. As I told you before these refrigerators only come with the shell....no sides and no front door panels. We are going to use 2 pantry cabinets to make up the sides but Mike had to add an extra piece of wood to get it farther out from the back wall to make sure the refrigerator has air behind it. The two sides that Mike painted black to match the refrigerator.  Next we have to work on the new cabinet...which I got for 30% off because it had some minor scratches  This is the cabinet that will go on the side of the refrigerator closest to the front wall of the house. We have to put in an air vent through the cabinet and out the front wall. Mike drills the pilot hole for the bigger hole we need.  Mike using the 4" pipe to draw the circle for the hole to be cut out.  Mike cutting out the 4" hole with a jigsaw.  That was all we did that night. Now the next day....it's back out to the Buckeye tree that we cut down. We have to try and clean the rest of it up. Of course we ran into the cows on our way down.  Mike cutting the big part of the tree to make it easier for us to manage.  Cutting the tree into discs to fit our wood stove since we haven't bought a log splitter.  And we are loaded up . Back up to the house and we unload the trailer. Here is our new wind generator. Hopefully it is a good windmill. We will see.  Mike finished the water pump box by putting shingles on top to match our roof. 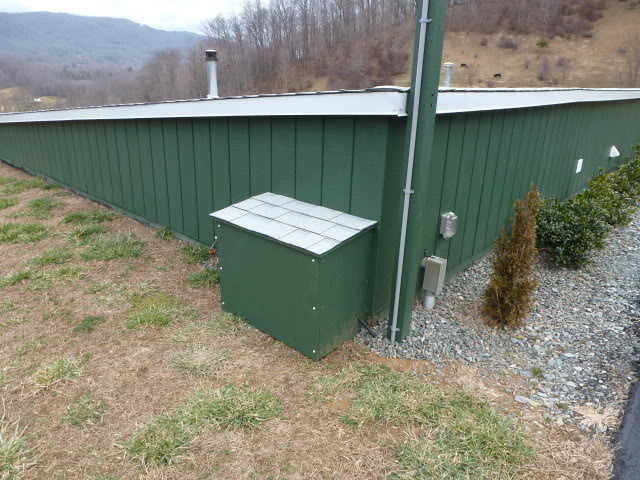 Back inside the house. It's time to work on the outside vent hole for the refrigerator.  The hole is cut out on the inside.  Now we have to go outside. While I hold the flashlight Mike draws the hole to be cut.  Next he cuts out the hole.....and hopefully the pipe fits in the holes in the cabinet and the holes in the house   Mike hooks up the gas, hooked up the 12 volt to run the display panel, and hooked up the 110 to run the refrigerator on electric. It all works. Next we had to do something about the front door panels. Originally we thought we would make them but decided it was easier to order them. I called to see if they made stainless door panels....and they said yes...for $300.00 Really...just for some flimsy decorative panels? I think not...so I ordered the black panels instead Seriously these refrigerators should come with a finished panel for the doors Mike put the top panel front on the freezer door.  And sliding in the refrigerator panel.  The new refrigerator is in...now we just hope it works like we planned.  The next morning I get the cleaning bug. I cleaned all the trim, doors, handles, door trim and now it's time to hit the kitchen area. My last section to clean. Our clock above the cabinets has a blackish ring. No problem....I will just take the clock down and wash it. Well some things never work out as easily as you expect I started to wipe the black ring and realized it was soot on the "whole" wall Apparently when we had that negative air pressure problem when I had the gas dryer and the wood stove on at the same time, I smoked up the house and got the walls dirty. So now instead of an easy clean...I have to wash the wall I got that wall done...but I am not touching any other walls in the house until spring  . BTW, the air vent for the refrigerator solved out negative air pressure problem We learn as we go, lol. . BTW, the air vent for the refrigerator solved out negative air pressure problem We learn as we go, lol.The cows are enjoying this beautiful day  We should be having babies soon We should be having babies soon And looking out the front door. It's amazing how green our front grass stayed this winter.  That's all for now. I hope you enjoyed our story and I will write again soon. Have a wonderful week. Lisa |
Monday, February 25, 2013
Chapter 124...Making Cabinets For an RV Refrigerator
Subscribe to:
Post Comments (Atom)
You changed the kitchen cabnet knobs! LOL Hey, I like these too!
ReplyDeleteMe too:)
Delete