Monday, December 29, 2014

Our New Flooring

Hello everyone.  Mike and I finally made a flooring decision.  We had a few hold ups and then some issues with the choices we made.  The current floor has terrazzo in the living room an kitchen, the hallway is plywood and the dining room is concrete.  We knew we had to pull it all together to make it all flow right.

Since we want one kind of floor throughout carpet was out.  That does not work in a kitchen.  Next choice click and lock laminate or hardwood.  As pretty as the floor was in the last house we did it was horrendous to maintain…and we were only there a few months.  We also felt that would be an issue since laminate and hardwoods are not waterproof.  Next choice tile.  OK…tile would work even though it is a very hard surface.  Mike and I drove to about six different flooring places to find the right tile for us.  We both like a glazed light colored 24x24 porcelain.  We know exactly what we want…sadly no one had an exact match.  We did find one that we thought might work.  We had to wait for a sample to be mailed to us.  When we got it it was the wrong sample.  We tried again and apparently the manufacturer sold that entire line to a big commercial business.  They had no idea when they would start producing our tile again….grr!!!

Then we found a really pretty 24x24 porcelain "topped" tile.  It was very light in color but we thought we could deal with it.  Then Mike started worrying about how it would cut when we went to install it.  The last time we installed a porcelain tile that was not colored throughout the tile it cracked when we tried to cut it.  This is too big of a job to worry about that..

Now that we cannot find a solid porcelain tile that we like it's back to the drawing board.  We know what we don't like…now what, lol?  There really aren't many options left.  We love our flooring in TN which is a sheet laminate.  It is indestructible, never scratches or dents and is waterproof. Our only problem is the seaming.  Some of our seams started to come up.  We also want to install it ourselves.

OK…time to look at some of the vinyl floors that are available.  Nicole did her floors in a stick down vinyl plank.  We didn't see any that we liked.  Then we saw the floating stick down click vinyl flooring but that was only water resistant.  Lastly we looked at a floating vinyl wood look click and lock that is 100% waterproof.  That seems the best fit for us considering all of our options and taste.

Now to choose which one.  Some of them come in larger planks but the individual lines are very small. Others come in smaller planks but they are a full tile.  Although it might be harder to install we liked the look of that better.  We bought a few samples and brought them home to pick a color.  Finally we made a decision.  We kept the one box of the one we liked and special ordered the rest.


Mike tests our first box:


You have to put the end in first and then slide in the long side:


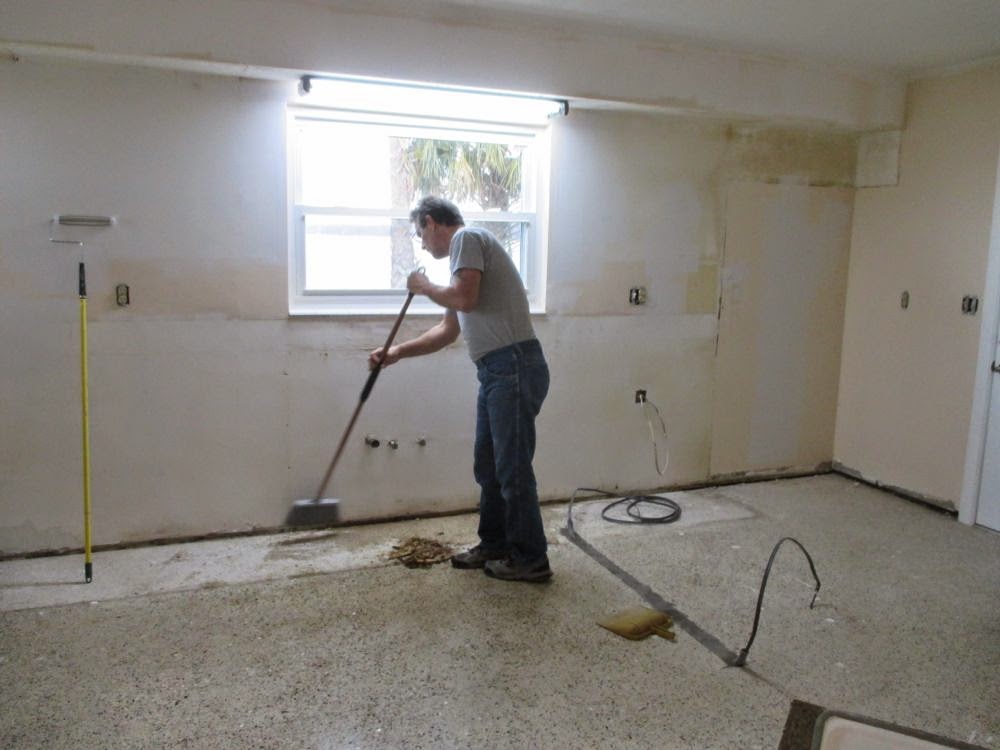
Ten days later and we picked up our 44 boxes….oh joy, lol:  But it will be so much easier than tile.


The straight runs are pretty easy.  Mike and I work together on each plank.  He gets the edge lined up and I help with the long side.  All it takes is some patience and a rubber mallet.  It is easy to cut.  Just score it and snap:


Ugh…one of those fun cuts.  I am so glad Mike can do this.  And the scary part….hoping that all the flooring matches up from room to room and still snaps together:


We made it past the living room/kitchen entrance…whew!!


Now back to the shorter runs….just the living room:


Almost finished with the living room:


One big room finished:


And now to finish up the kitchen:


Trying to get it done.  By now our backs are killing us:


Mike fills the crack that was between the kitchen and the dining room:


Now to get the hallway done, move over to the dining room and meet the kitchen floor.  I hope it all fits.  Mike used his new oscillating tool to cut out door jambs.  Now to get the hard spots together:


Working on the last run in the hallway.  This was a tough spot since we had no way to slide the ends in together.  This one row took us longer than the rest of the hallway:


It all matched up:) and we got the dining room done:


Now it all flows together:


Wow…it looks so much bigger:


All in all we went with "our" best possible choice.  We are very happy with the floor.  It flows nicely and it is very easy to clean.  The only downfall is for Niki.  Even though it is not a super shiny floor it is slick and makes it hard for her to walk on.  She is fine if she goes slow…but not if she goes fast.  I ordered some non slip boots for her.  I hope they help.


It is a "fairly" easy floor to install especially if it is just one room.  It takes patience and some of the cut outs around doorways can be tough to get it to go together.  Oh and be careful if you ever choose this floor.  It can be a little brittle so if you hit it too hard with the rubber mallet it will break.  We found that out after Mike tried to beat a piece in place, lol.


This is the floor and the color that we bought.
Our Floor


That's all for now.  Sorry I was late…we had to find counter tops today.  Next Monday I will show you our kitchen cabinets:)

Have a great week.

Lisa:)

Monday, December 22, 2014

More Lights, Some Trim Painting, and A Cool New Tool

Hello everyone.  It has been a very busy week for Mike and I.  Last week we picked up our flooring and installed it, picked up our kitchen cabinets and put them together, and tomorrow we have a furniture delivery.  It's almost starting to feel like a home but before we get to all of that let me take you back to some of the small stuff.


Ah…time for some trim painting.  This is not one of my favorite jobs and one of the few painting jobs that I use tape for.  Getting the front door trim painted white:


Then I moved onto the spare bedroom closet.  The shelves are in good shape they just need to be freshened up:


And the white is complete:


And now for another dilemma, lol.  The main living room does no have a switch for the overhead light.  Mike came up with the idea to put a remote control inside the light we bought and put the remote control on the wall.  Sounds good so we went shopping for a light and a remote.  We found a remote in the ceiling fan section and bought a light.  After getting the light home we found out that the remote would not fit inside the ceiling light.  So back to the store for a larger based light.


We found only one that would fit the remote.


Mike starts working on the electrical for the new light:


Installing the remote inside the base of our light:


The base going up:


And the globe:


Screwing in the holder for the remote:


And the remote.  Yay…now we can switch the light on from the wall:)


And our new light:


While we were out I picked up some globes for the kitchen light:


Ooh…color…I like:


Do all of you remember the "den" where the washer and dryer is?  Well that room has become our catch all and it is a huge mess.  Mike decided to cut one of our shelves down and use it to organize that room a little.  We will eventually put the shelves in the garage but for now we desperately need one.  It's the first time we could get to it, lol.


Mike cuts the legs down from one of our old shelves:


Screwing the legs and shelves together:


Mike screws in the shelves:


Our newer version of our shelf:


Now Mike can clean up his mess, lol:


My next story will be about us installing our new floor but until then let me tell you about Mike's new cool tool:)  Whenever we do flooring it is always a hassle to get the flooring under the door trim.  In the past Mike has had to cut the trim using his saws all or the cut off wheel.  Neither one of those tools is really meant for the job.  This time he bought the tool that is made for this job.  It is called an Oscillating tool.


Mike tries it on the first piece of trim:


He has cut through:


And pulling the small piece of trim out:


Nice.  This will make it so much easier when we install the flooring:


That's all for now.  Next Monday I will show you our new floor.  Have a great week and a Very Merry Christmas.


Lisa:)

Monday, December 15, 2014

Ceiling Paint, Wall Color and Some New Lights


Hello everyone.  Mike and I have done as much as we can without other people being involved.  Now we have the aggravation of others intruding in our lives…grr!!!  Friday we finally found new living room, dining room and the guest bedroom furniture.  That is supposed to be delivered on the 23.  Our flooring is supposed to be in late this afternoon or Wednesday.  And our cabinets…well let's just say Mike is mad that we didn't pick up Home Depot cabinets because we would have had a kitchen by now.  So today we are in wait mode and it is not fun.


Back to what we have been doing.


Once the ceiling swirl texture dried we painted the ceilings with a white ceiling paint.  We had two rollers going at the same time since ceiling painting is literally a pain in the neck, lol:


Mike rolling out the hallway ceiling:


Now that the ceilings are done and we painted a coat of primer on the walls it's time for color.  Yes Mike and I are finally doing some color, lol.

Mike painting the living room:


And the section by the built ins:


We got the living room and the hallway primed and painted…and it still needed another coat of paint.  That's it.  No more priming of walls when we still had to paint the color on twice.  It's just a waste of time and money.  On a good note we used Behr paint for the first time and it was a very good rolling paint.  We had no splatter issues:)

Finished painting for now:


Next up…time for some lights.  We seem to have found a new issue with this house.  Mike went up into the attic hatch…at least he tried to.  Our roof is so low that there is no room for "any" attic work at all.  This means that there is no way to run any new wires without taking off the roof or busting through some ceilings.  At least it won't blow off in a hurricane, lol.  I'm guessing that is what it was built to withstand.  Thankfully someone at one time got the A/C in.


We found a solution for a very low profile light in the hallway.  It is very cool:


It doesn't hang down far and it works perfect for what we need:


Next up…the new back door entrance light:


Adding the bulbs:


Yay one more light is up:


Mike talked me into it.  It is driving him crazy that we still have the kitchen sink in place and we can't patch and paint that kitchen wall.  I told him I would manage with one of the bathroom sinks, he's a lucky guy, lol.  The sink is out:


Salvaging the plumbing:


Getting the rest of the cabinet out:


Ooh…Mike is cleaning up, lol.  Usually he makes the messes while I clean.


Once the kitchen floor is cleaned up we were able to patch the walls and give them a quick coat of primer….hey we had some leftover, lol.


Now for the main kitchen light.  We had a problem with this area because the original electrical for the light was not centered in the kitchen ceiling.  Mike had no way of centering it with the way this house is built.  We got lucky and found a pendant light set that has a 3 foot long holder for the electric…which means we don't have to center the existing electrical.  Mike installs the new pendant lighting and shifts it down the the farthest point within the light fixture.  That actually worked out perfect.  It is now centered with the window and the Island.  Now I just need to find globes.


The kitchen walls are ready for some color.  Mike starts rolling:


While I do the cut in:


The painting is complete.  The last light is going over the sink area:


Wow we have a lot of bulbs in this house, lol:


That's all for now.  The house is clean and ready for us to do some more put together work.  Now if we could only get the materials here.


Have a great week….and I will post again next Monday.


Lisa:)