This week's pictures is a lot of odds and ends. We have to wrap up some old stuff, get ready for the sheetrock to be installed, and start building shelves for the store.
Here is Mike on the back side of the building using a template for one of the vents:
One vent is installed. We will have two on each end. We tried to use some vents that we had in our storage container but Mike isn't happy with it. We will have to look for more vents when we go to town:
That's OK....there is always something else to do. Mike starts working on the plumbing inside the building. He starts with the cold water pex lines:
Using the crimping tool. I love this stuff:
The cold water (blue) lines are in. Now Mike works on the hot water lines. Gotta love pex. It is so easy to work with:
And the plumbing is done. Nice and easy:
Everything is cleared out and cleaned up. We are ready for the sheetrock delivery:
The sheetrock is delivered. Since a crew will be doing the work we were able to order 12 foot boards. That's a lot of sheetrock:
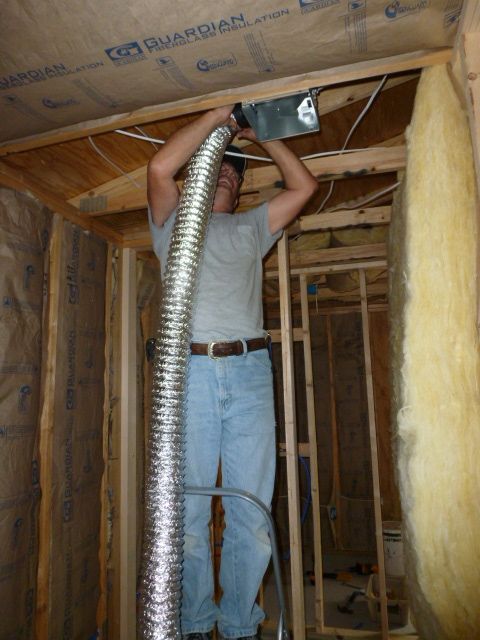
Next Mike works on the fan/light combo for the bathroom:
Wiring it:
Putting it in place:
And adding the hose which will vent it outside the building:
Using the reciprocating saw to cut another square for the vent:
Adding screen behind the vent so no animals can squeeze in:
Adding the green painted vent. Much better:):
Working on the last vent:
Yay...we are done:
Hanging the last of the eaves that we have:
The building is now cleared out for the sheetrock crew. We will start building the shelves at the house so we aren't in the way. We are going to build the same type of shelves that we built last year for our shed.
I measure all of the 2x4's while Mike cuts them down:
Next we start building the bases for each shelf. First we make a box using the 2x4's and nail them together:
Then we put the measured and cut down pice of plywood on top of the box:
That gets nailed down to the 2x4's:
Making another box. We need three boxes for each shelf:
We are out of wood so we stack them on the shed until we can paint them:
Ahh...the next day is painting day: We lay a couple of boxes at a time across the saw horses so we can give them the first coat of paint:
Mike starts spraying:
We got the bottoms all done. Now we wait for them to dry:
Once those are dry we flip them over and paint the tops:
Niki supervises the drying:
That's all we did for now. Once they are dry we stack them back in the building. The next job we have will be making the stands for the shelves....but that's another story.
I hope you enjoyed this story and I will write again soon.


I had my doubts about that pex tubing when I had the new shower installed at the farm. But I never had a frozen shower, toilet or broken pipes again.
ReplyDeleteOnce again thanks for bringing us into your world. :)
Jaxson
We have been using Pex for the past 5 years. We love it. Knock on wood...so far so good:) and it is so easy to work with.
DeleteI've been warming up to PEX as well, just be sure to have good rodent control as I've read that the only real danger to PEX (besides sunlight) is that rodents love to eat the stuff.
DeleteThis comment has been removed by a blog administrator.
ReplyDelete