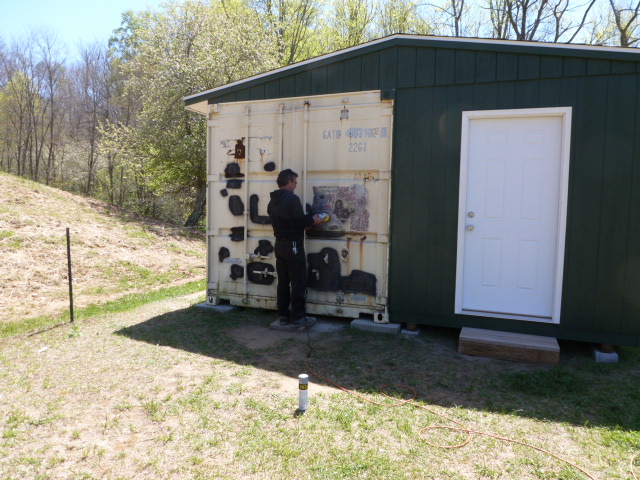
We will be using cut up boards from the T1-11 for our end pieces. First Mike has to add extra 2x4 scabs for something to nail the new boards into:


After he nails those in we take careful measurements of the angles. We will need to use a total of four boards and cut them down to make the peak and the angles.
Mike drawing out one of the boards from a template:
Mike drawing out one of the boards from a template:

We have the two peak boards complete:

After we get them measured and cut, I paint the boards to match the building. I let them dry outside in the sun before we can install them:

Mike nails up the first board:

After we get the first two boards up we decide we don't like the way the lines from the top boards don't line up "exactly" with the bottom boards. Ugh....sometimes being picky is a pain in the butt, lol.
So we take those two done and start over:
So we take those two done and start over:

OK back on track and we got it right. We have to start from one side instead of the peak and work our way to the other side. We measured, cut the angles, and painted the boards. The first one is up.
Ah...much better:) We are happy with that:

Mike nailing in the second one:

While I am inside painting:

Nailing in the last one on the front side:

We are finished enclosing one end:

Onto the back side. Same story different side. Mike nails the first one in:

And the second one:
\

Mike cutting the angle that we have measured:

Woo hoo. Both ends are finished:

The next day we decide to work on the land at the store property. We still have a lot of finish work to do. So we will do a little at a time.
We stop off at the barn and push some of the loose floor hay onto our trailer:

We cover it with a tarp and I take that to the store. Mike follows me in the tractor:

Once we are there I start working on the shallow ditch by raking, seeding and throwing out the hay. Mike scoops dirt to fill in one of our low spots:

He gets that spot raked out:

And I get the seed and straw on it:

The ditch line that I worked on:

While we are there one of the people we have met in the area stops by with coffee for us and to chat. It was a very nice gesture. Too bad Mike and I didn't have our cups with us, lol.
After we got finished I left first and Mike followed me home. To show you how far we have to drive I took this picture, lol. I am on our driveway looking through some trees. It's really nice when you can work that close to home:)

That's all for today. I hope you enjoyed this story and I will write again soon. Have a great week:)

 Finally I am back to finish our shed story. I am very happy to be able to use a very clean building


 Of course I have to do the trim work. I start first since it takes me longer.